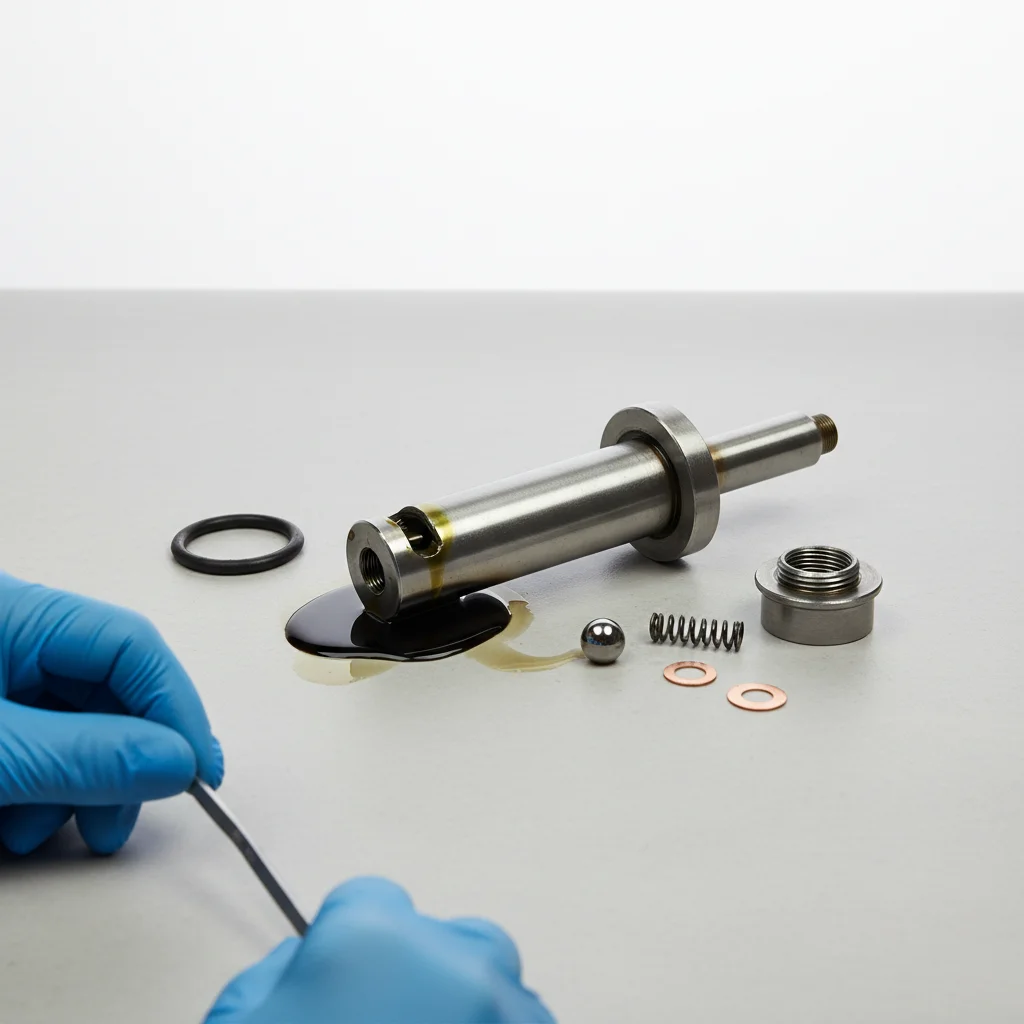
A leaking ram on your floor jack can be a frustrating issue, but it’s often repairable with the right approach. The most common cause of a leaking ram is worn or damaged seals, which can be replaced in seven distinct steps. Addressing this promptly ensures your jack operates safely and efficiently, preventing further fluid loss and potential lifting failures.
Identifying the Source of the Leak
Before any repair, accurately pinpointing where the fluid is escaping is crucial. A leaking ram typically manifests as hydraulic fluid seeping from around the main piston shaft when the jack is under pressure or even at rest. Clean the exterior of the ram thoroughly and then pump the jack a few times, observing closely for any fresh fluid trails. This will confirm the ram as the leak source, distinguishing it from other potential leaks like the release valve or reservoir.
Gathering the Necessary Tools and Parts
To successfully repair a leaking ram, you’ll need a few essential tools and the correct replacement seals. Gather a set of wrenches, a screwdriver, a pick tool, a clean drain pan, and a supply of new hydraulic fluid. The most critical component will be the ram seal kit, which should be specific to your floor jack’s make and model. Consult your jack’s manual or the manufacturer’s website to ensure you purchase the correct size and type of seals.
Draining the Hydraulic Fluid
Safety first: ensure the jack is fully lowered and stable on a flat surface. Locate the hydraulic fluid reservoir plug, usually a rubber or metal cap on the side or top of the jack’s body. Place a clean drain pan underneath and carefully remove the plug to allow the old hydraulic fluid to drain completely. This process can take several minutes. Once drained, replace the plug loosely to prevent contaminants from entering while you work on the ram.
Disassembling the Ram Assembly
|
Our Picks for the Best Floor Jack in 2026
As an Amazon Associate I earn from qualifying purchases.
|
||
| Num | Product | Action |
|---|---|---|
| 1 | DNA Motoring TOOLS-00234 Low Profile Hydraulic Trolley Service/Floor Jack, 2 Ton (4000 lbs) Capacity, Lifting Range 5.1"-13", Black |

|
| 2 | 3 Ton Low Profile, Aluminum and Steel Racing Floor Jack with Dual Pistons Quick Lift Pump for Sport Utility Vehicle, Lifting Range 3-15/16" min to 18-5/16" max, Net Weight 58.5 lb, Red |
|
| 3 | Floor Jack 2.5 Ton (5500 lbs), Low Profile Floor Jack with Single Piston Pump, Heavy Duty Steel Hydraulic Jack for Car, Jack for Car with Lifting Range 3.4'' to 14.6'' |
|
| 4 | Floor Jack 3 Ton Capacity Fast Lift Service Jack Steel Heavy Duty Hydraulic Car Jack |
|
| 5 | VEVOR 2.5 Ton Low Profile, Heavy-Duty Steel Racing Floor Jack with Single Piston Lift Pump, Lifting Range 3.35"-14.96" |
|
| 6 | 3 Ton Floor Jack (6600 lbs), Heavy Duty Hydraulic Jack for Car, Heavy-Duty Floor Jack with Single Piston Pump, Quick Lift Car Jack 3 ton with Lifting Range 5.5'' to 18.5'' |
|
| 7 | Amazon Basics Hydraulic Floor and Portable Car Jack, 2.2 Short Ton/ 2 Metric Ton/ 2 Tonne / 2000 kg Capacity, Slow Release, Red |
|
| 8 | Dewalt DWHT83550 TOUGHSERIES Construction Jack |
|
| 9 | Low Profile Floor Jack 3 Ton (6600 lbs), Heavy Duty Hydraulic Jack for Car, Heavy-Duty Floor Jack with Dual Pistons Quick Lift Pump, Car Floor Jack with Lifting Range 3-1/8'' to 19-7/8'' |
|
| 10 | DNA Motoring Low Profile Hydraulic Trolley Service/Floor Jack, 2 Ton (4000 lbs) Capacity, Lifting Range 5.1"-13", Blue, TOOLS-00474 |
|
With the fluid drained, you can now access the ram assembly. This usually involves removing a retaining nut or collar that secures the ram to the main body of the jack. Use the appropriate wrench to loosen and remove these fasteners. Carefully pull the ram assembly out of its housing. Be gentle to avoid damaging other internal components. You may need to use a pick tool to help dislodge any stubborn seals or O-rings.
Replacing Worn Seals and O-Rings
Once the ram is disassembled, you will see the old seals and O-rings that are likely the cause of the leak. Use your pick tool to carefully remove these worn components. Pay close attention to their orientation and placement, as the new seals must be installed in the exact same manner. Clean the ram shaft and housing thoroughly before installing the new seals from your repair kit. Ensure they are seated correctly and not twisted or pinched. Lubricate the new seals with a small amount of fresh hydraulic fluid to aid in reassembly and prevent immediate wear.
- Inspect the ram shaft for any scratches or pitting.
- Clean all components with a lint-free cloth.
- Apply a thin layer of hydraulic fluid to new seals.
- Ensure seals are not twisted during installation.
- Double-check all seal placements before reassembly.
Refilling with New Hydraulic Fluid and Bleeding Air
With the new seals in place and the ram reassembled, it’s time to refill the jack with fresh hydraulic fluid. Use only the type recommended by your jack’s manufacturer. Fill the reservoir to the specified level, typically indicated by a fill line or the top of the reservoir opening. After refilling, you must bleed any trapped air from the system. This usually involves opening the release valve slightly, pumping the handle several times, and then closing the valve. Repeat this process until the jack lifts smoothly and consistently without any spongy feel.
Testing the Repaired Floor Jack
After refilling and bleeding, perform a thorough test of your repaired floor jack. Slowly raise the jack to its full height and then lower it, observing for any signs of new leaks around the ram. Repeat this several times, ensuring the jack holds pressure and operates smoothly. If no leaks are present and the jack functions correctly, your repair was successful. Always perform a test lift with a light load before using the jack for any heavy lifting tasks.

I tried to fix my leaking ram using these instructions, and while the steps were mostly good, I still had some trouble. My jack kept losing a little pressure after the repair. I think maybe my ram itself was slightly scored, which wasn’t really covered. It’s better than before, but not perfect.
I had a floor jack with a leaking ram that I thought was toast. Following the steps here, especially the part about identifying the leak source first, made a huge difference. Turns out it was just a worn seal, and replacing it was way easier than buying a whole new jack. My old jack is back in action, holding pressure perfectly.
Fantastic resource! My hydraulic fluid was seeping from around the main piston shaft, just like described. I was about to junk my jack, but decided to give this a shot. The detailed breakdown of how to replace the seals made it manageable even for a weekend mechanic like me. Definitely recommend trying this before buying new.
This guide was super helpful for my old Craftsman jack. The seven steps for replacing the seals were clear, and I appreciated the tip about cleaning the ram thoroughly before looking for leaks. It saved me a lot of guesswork. The only minor thing was finding the exact seal kit, but that’s not really a fault of the instructions.