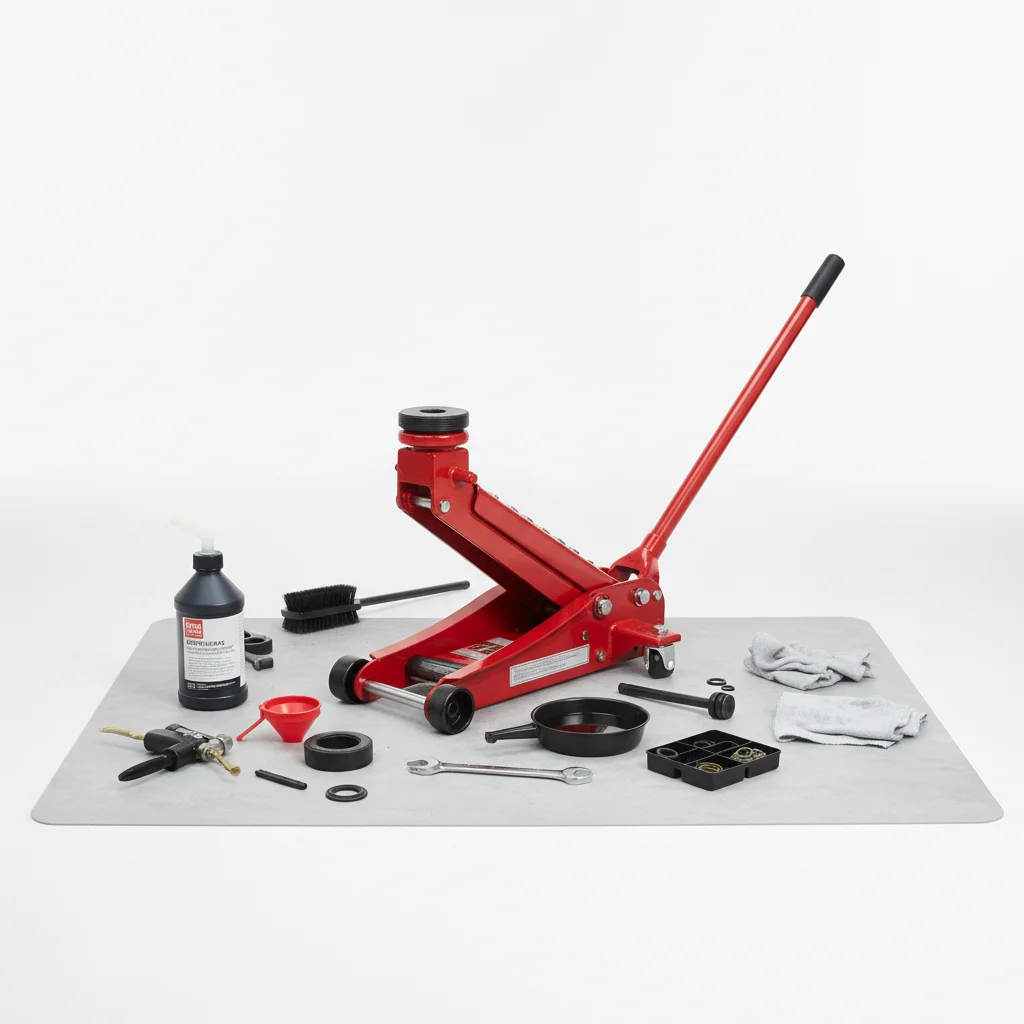
Regular inspection for damage is a critical aspect of floor jack maintenance, and it should be performed at least once a month, or before each use if the jack is used infrequently. This proactive approach ensures the safety and longevity of your equipment, preventing potential failures during lifting operations. Identifying and addressing minor issues early can save you from costly repairs and, more importantly, serious accidents.
Why Regular Damage Inspection is Crucial
Floor jacks are subjected to immense pressure and stress during their operational life. Over time, components can wear, bend, crack, or corrode. Neglecting these signs of damage can lead to catastrophic failure, endangering both the user and the vehicle. A routine inspection helps you catch these problems before they escalate, ensuring your jack remains a reliable tool in your garage or workshop. For more automotive lifting guides on this site.
Beyond safety, consistent inspections contribute to the overall lifespan of your floor jack. By identifying and rectifying issues like a bent frame or a compromised saddle, you prevent further strain on other components, thereby extending the jack’s operational efficiency and reducing the need for premature replacement. This makes regular checks a sound investment in your equipment’s future.
Key Areas to Inspect on Your Floor Jack
When performing a damage inspection, focus on several key areas. Start with the frame and chassis, looking for any signs of bending, cracks, or severe rust. Pay close attention to the welds, as these are common points of failure under stress. Next, examine the lifting arm and saddle for deformation or wear. The saddle, which makes direct contact with the vehicle, should be free of deep gouges or chips that could compromise its grip.
- Check the wheels and casters for smooth operation and any signs of damage or excessive wear.
- Inspect the handle for bends, cracks, or loose connections to the pumping mechanism.
- Examine all pins, bolts, and fasteners to ensure they are securely in place and not corroded.
- Look for any signs of hydraulic fluid leaks around seals, hoses, and the pump cylinder.
- Test the release valve and pumping mechanism for proper function and responsiveness.
Tools and Techniques for Effective Inspection
|
Our Picks for the Best Floor Jack in 2026
As an Amazon Associate I earn from qualifying purchases.
|
||
| Num | Product | Action |
|---|---|---|
| 1 | Amazon Basics Hydraulic Floor and Portable Car Jack, 2.2 Short Ton/ 2 Metric Ton/ 2 Tonne / 2000 kg Capacity, Slow Release, Red |

|
| 2 | Floor Jack 3 Ton Capacity Fast Lift Service Jack Steel Heavy Duty Hydraulic Car Jack |
|
| 3 | 3 Ton Low Profile, Aluminum and Steel Racing Floor Jack with Dual Pistons Quick Lift Pump for Sport Utility Vehicle, Lifting Range 3-15/16" min to 18-5/16" max, Net Weight 58.5 lb, Red |
|
| 4 | Floor Jack 2.5 Ton (5500 lbs), Low Profile Floor Jack with Single Piston Pump, Heavy Duty Steel Hydraulic Jack for Car, Jack for Car with Lifting Range 3.4'' to 14.6'' |
|
| 5 | 3 Ton Floor Jack (6600 lbs), Heavy Duty Hydraulic Jack for Car, Heavy-Duty Floor Jack with Single Piston Pump, Quick Lift Car Jack 3 ton with Lifting Range 5.5'' to 18.5'' |
|
| 6 | DNA Motoring Low Profile Hydraulic Trolley Service/Floor Jack, 2 Ton (4000 lbs) Capacity, Lifting Range 5.1"-13", Blue, TOOLS-00474 |
|
| 7 | DNA Motoring TOOLS-00234 Low Profile Hydraulic Trolley Service/Floor Jack, 2 Ton (4000 lbs) Capacity, Lifting Range 5.1"-13", Black |
|
| 8 | Dewalt DWHT83550 TOUGHSERIES Construction Jack |
|
| 9 | Low Profile Floor Jack 3 Ton (6600 lbs), Heavy Duty Hydraulic Jack for Car, Heavy-Duty Floor Jack with Dual Pistons Quick Lift Pump, Car Floor Jack with Lifting Range 3-1/8'' to 19-7/8'' |
|
| 10 | VEVOR 2.5 Ton Low Profile, Heavy-Duty Steel Racing Floor Jack with Single Piston Lift Pump, Lifting Range 3.35"-14.96" |
|
A thorough inspection doesn’t require specialized tools, but a good flashlight, a clean rag, and perhaps a wire brush can be very helpful. Use the flashlight to illuminate hard-to-see areas, especially around the hydraulic cylinder and under the lifting arm. A wire brush can help remove surface rust to reveal underlying damage. Always perform the inspection on a clean, level surface to get a clear view of all components.
When checking for cracks, sometimes a light tap with a small hammer can reveal a different sound in a compromised area. For hydraulic leaks, a clean rag wiped around seals will quickly show any seeping fluid. Remember to test the jack’s full range of motion without a load to ensure all mechanisms operate smoothly and without unusual noises.
When to Repair or Replace Damaged Components
The decision to repair or replace a damaged floor jack component depends on the severity of the damage and the availability of parts. Minor issues like a slightly bent handle or a worn wheel can often be repaired with replacement parts. However, significant damage to the frame, lifting arm, or hydraulic cylinder usually warrants professional repair or, more often, replacement of the entire jack. Never attempt to weld a cracked frame or hydraulic component yourself, as this can severely compromise the jack’s structural integrity and safety.
Always consult the manufacturer’s manual for guidance on repair procedures and recommended replacement parts. If you are unsure about the extent of the damage or the safety of a repair, it is always best to err on the side of caution and consider replacing the jack. Your safety should be the top priority when working with automotive lifting equipment.
