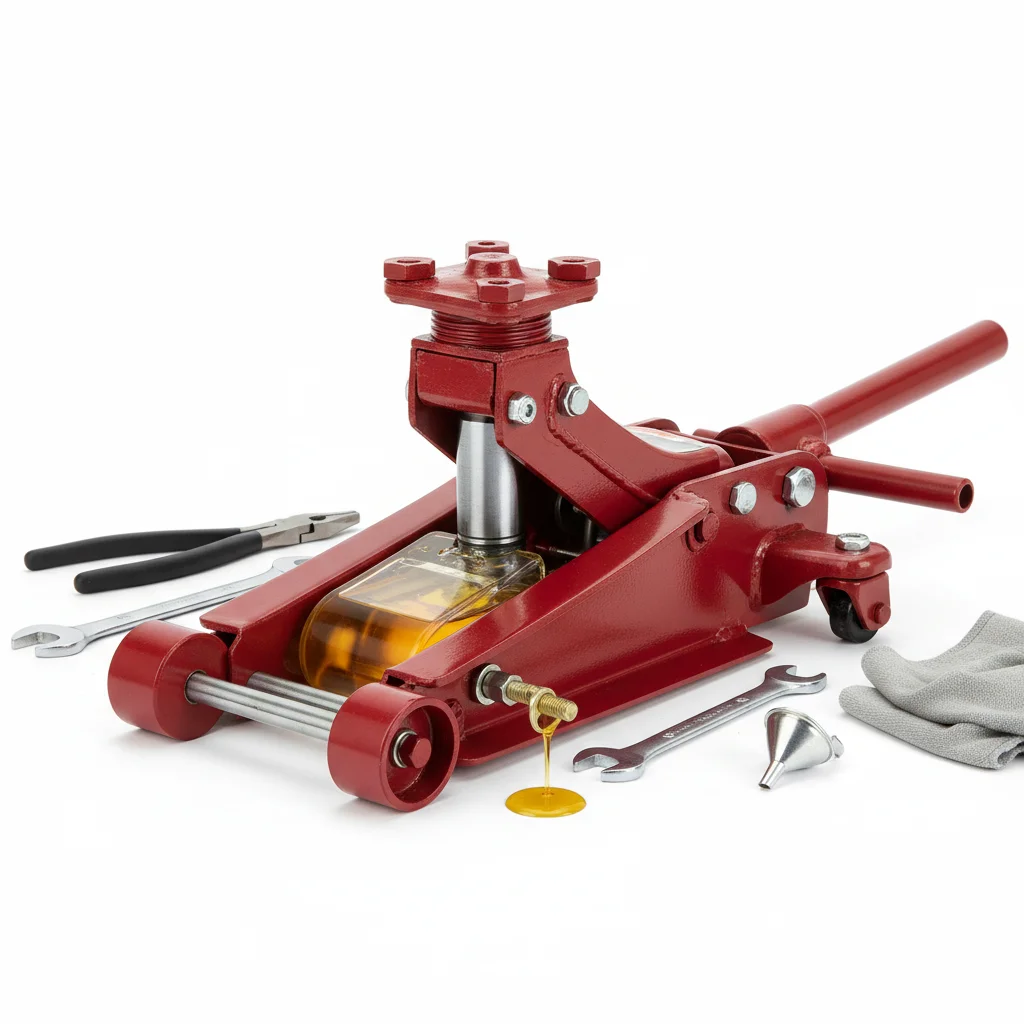
Proper floor jack maintenance is crucial for safety and longevity. One often overlooked but vital task is bleeding air from the hydraulic system. You should bleed air from your floor jack at least once every six months, or immediately if you notice spongy operation, incomplete lifting, or a failure to hold pressure. This simple procedure removes trapped air bubbles that can compromise the jack’s performance and safety, ensuring it operates smoothly and reliably for every lift.
Why Air Gets Trapped in Your Floor Jack
Air can enter a floor jack’s hydraulic system through various means. Common culprits include the natural expansion and contraction of hydraulic fluid with temperature changes, which can draw air past seals, or simply during the manufacturing process. Additionally, if the jack is stored on its side or inverted, air can migrate into the pump mechanism. Over time, these small air pockets accumulate, leading to the symptoms of a poorly performing jack.
Recognizing the Signs of Trapped Air
Identifying when your floor jack needs bleeding is straightforward. The most common indicator is a ‘spongy’ feel when pumping the handle, meaning the jack doesn’t lift with the expected firmness. Another sign is if the jack struggles to lift its rated capacity or if it slowly lowers after being pumped up, even without a load. In some cases, the jack might not lift at all, or only lift partially, despite repeated pumping. Addressing these signs promptly prevents further issues and maintains operational safety.
The Step-by-Step Air Bleeding Process
|
Our Picks for the Best Floor Jack in 2026
As an Amazon Associate I earn from qualifying purchases.
|
||
| Num | Product | Action |
|---|---|---|
| 1 | Low Profile Floor Jack 3 Ton (6600 lbs), Heavy Duty Hydraulic Jack for Car, Heavy-Duty Floor Jack with Dual Pistons Quick Lift Pump, Car Floor Jack with Lifting Range 3-1/8'' to 19-7/8'' |

|
| 2 | 3 Ton Low Profile, Aluminum and Steel Racing Floor Jack with Dual Pistons Quick Lift Pump for Sport Utility Vehicle, Lifting Range 3-15/16" min to 18-5/16" max, Net Weight 58.5 lb, Red |
|
| 3 | 3 Ton Floor Jack (6600 lbs), Heavy Duty Hydraulic Jack for Car, Heavy-Duty Floor Jack with Single Piston Pump, Quick Lift Car Jack 3 ton with Lifting Range 5.5'' to 18.5'' |
|
| 4 | DNA Motoring Low Profile Hydraulic Trolley Service/Floor Jack, 2 Ton (4000 lbs) Capacity, Lifting Range 5.1"-13", Blue, TOOLS-00474 |
|
| 5 | Dewalt DWHT83550 TOUGHSERIES Construction Jack |
|
| 6 | DNA Motoring TOOLS-00234 Low Profile Hydraulic Trolley Service/Floor Jack, 2 Ton (4000 lbs) Capacity, Lifting Range 5.1"-13", Black |
|
| 7 | VEVOR 2.5 Ton Low Profile, Heavy-Duty Steel Racing Floor Jack with Single Piston Lift Pump, Lifting Range 3.35"-14.96" |
|
| 8 | Amazon Basics Hydraulic Floor and Portable Car Jack, 2.2 Short Ton/ 2 Metric Ton/ 2 Tonne / 2000 kg Capacity, Slow Release, Red |
|
| 9 | Floor Jack 3 Ton Capacity Fast Lift Service Jack Steel Heavy Duty Hydraulic Car Jack |
|
| 10 | Floor Jack 2.5 Ton (5500 lbs), Low Profile Floor Jack with Single Piston Pump, Heavy Duty Steel Hydraulic Jack for Car, Jack for Car with Lifting Range 3.4'' to 14.6'' |
|
Bleeding air from your floor jack is a relatively simple task that can be completed in a few minutes. First, ensure the jack is on a flat, level surface and completely lowered. Locate the release valve and the oil filler plug, which is often a rubber stopper or a small screw. Open the release valve fully by turning it counter-clockwise. Then, remove the oil filler plug. With both open, rapidly pump the handle 10-15 times to cycle the hydraulic fluid and force air out. Close the release valve, replace the oil filler plug, and test the jack’s operation. Repeat if necessary.
- Ensure the jack is on a level surface.
- Fully open the release valve.
- Remove the oil filler plug.
- Pump the handle 10-15 times rapidly.
- Close the release valve and replace the plug.
Tools and Supplies for Bleeding Your Jack
You’ll typically need minimal tools for this procedure. A flathead screwdriver might be useful for prying open some oil filler plugs, and a rag is always handy for any minor spills. It’s also a good idea to have a small amount of fresh hydraulic jack oil on hand, just in case the fluid level needs topping off after bleeding. Always refer to your specific jack’s owner’s manual for precise instructions and recommended fluid types.
Beyond Bleeding: Other Essential Maintenance Tasks
While bleeding air is crucial, it’s just one component of comprehensive floor jack maintenance. Regularly inspect all moving parts for wear and tear, and lubricate pivot points with appropriate grease. Check the hydraulic fluid level and top it off if necessary, using only the manufacturer-recommended fluid. Inspect the seals for any signs of leakage, as compromised seals can lead to air ingress and fluid loss. Storing your jack in a clean, dry environment also significantly extends its lifespan.
